Wordpress plugin
- Quick start
- Installation
- General configuration
- News sitemap
- Images sitemap
- Pages and posts
- Categories and tags
- Troubleshooting
- Change log
General
Installing Wordpress XML Sitemap Plugin
Installing our Wordpress plugin is as simple as installing any other. If your website is mission critical and already live we do recommend you try test before going live to ensure the plugin operates as expected with your website.
System requirements
Our plugin is relatively simple and runs on demand to render sitemaps ensuring only the latest version is served.
Recommend minimum setup :
- WordPress 4.x (may work on older versions).
- PHP 5.x ( may work on older versions).
- mySQL 5.x ( may work on older versions).
- Permissions to add/update mySQL database table
Note that the plugin may work on older version of wordpress (and possibly PHP) but they are no longer tested or supported.
Installation
To install the XML Sitemap Wordpress Plugin obtain it from Wordpress Plugin download page and save it to your local computer.
Download PluginLogin to your Wordpress website and go to the Plugins page and click on the Add New plugin button.
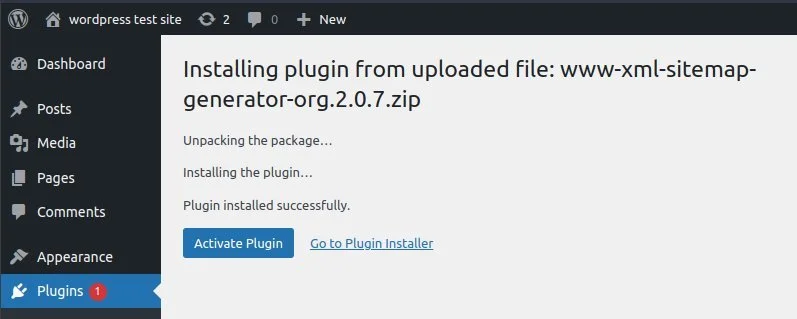
Click on Upload Plugin and, click Choose file, then select the XML Sitemap Plugin zip files and click Install now.

The plugin should now install and you will see the screen below. After a short while you should see a success message and be able to activate the plugin. Click on Activate.
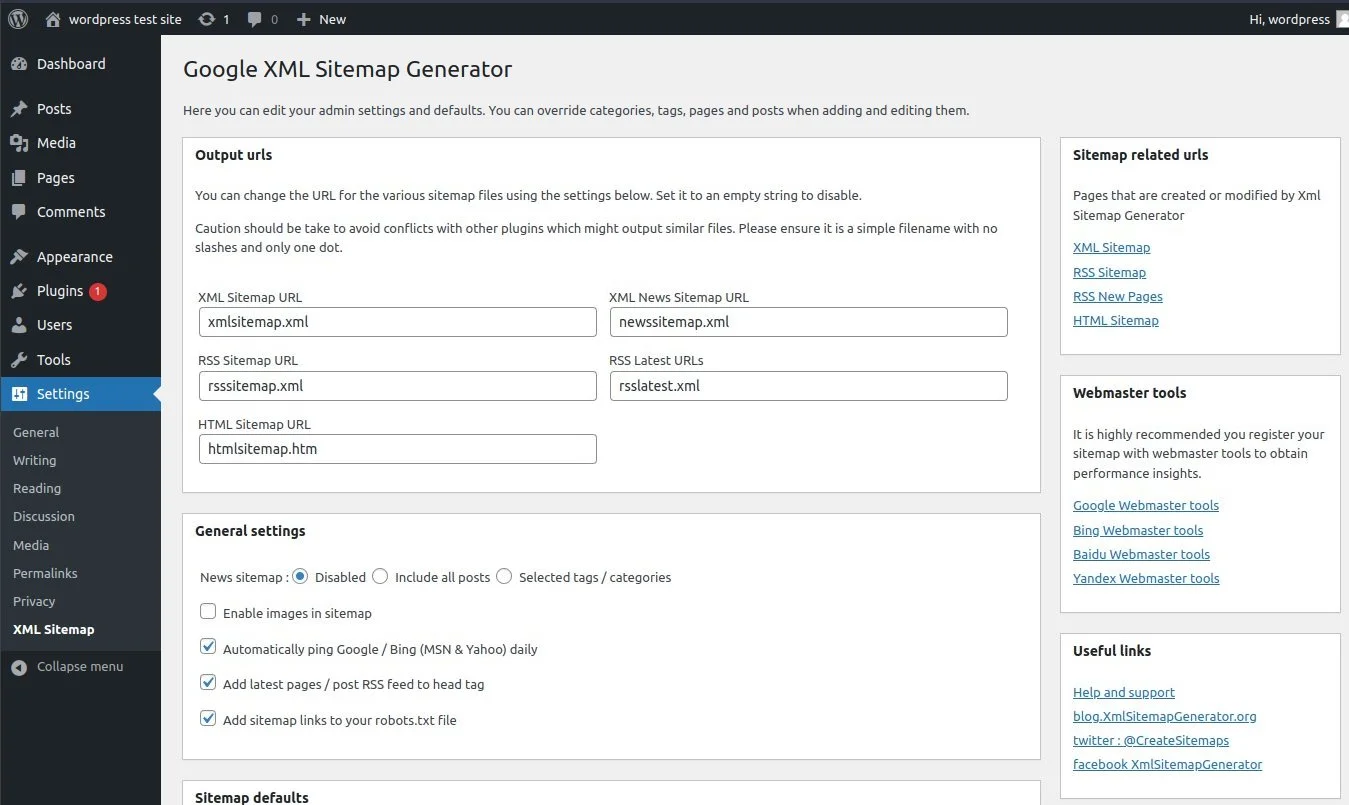
Once activated, you should be redirected to the sitemap settings screen.
Tip
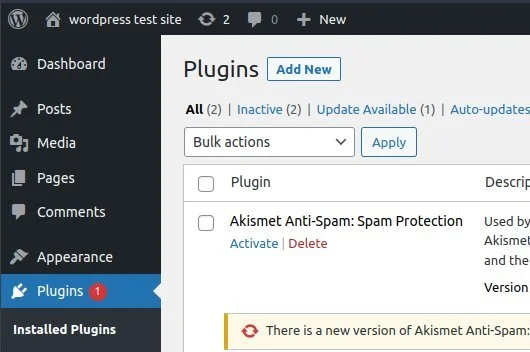
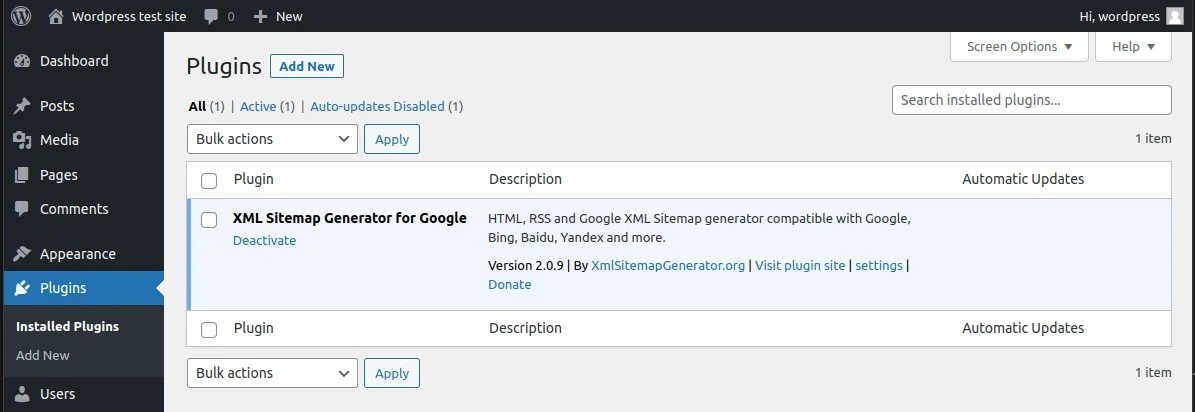
You can get to the plugin settings and activate, deactivate and delete the plugin from the installed plugins page.
What’s next
Once you’ve successfully installed and enbaled the Wordpress Plugin it should be working out of the box, but next you’ll want to configure it for your preferences.